
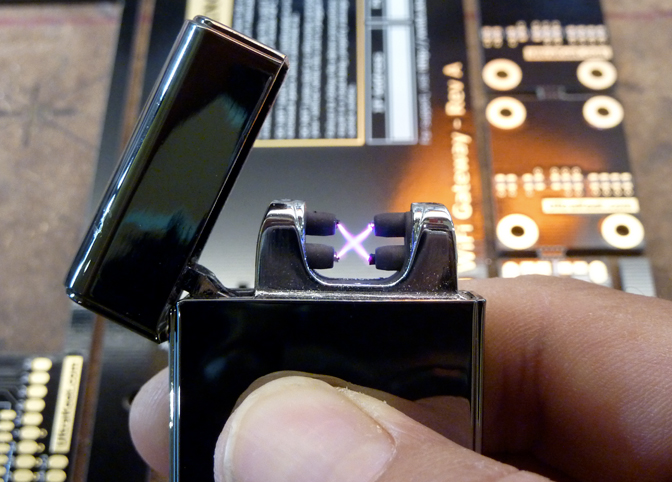
I modified an Arc Lighter to play the "We Are Number One" tune by modulating the arc - It'll also only play the tune once, and never again (for added confusion)
Full write-up HERE
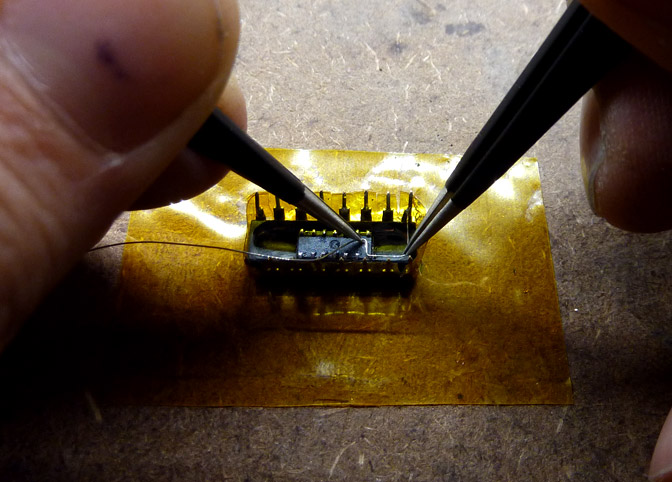
I've been busy studying Electronics & Communications at college this year. We were assigned a simple counter project in our Digital Subsystems class
...In order to mess with my instructors sanity, I hollowed out the inside of a SN74LS47N display driver, and inserted a 16F1503 microcontroller that functions almost identically to it
Full tutorial HERE
Minor site update,
I've started a new post category titled 'Filthy Casual', for posts that don't quite fit the Write-Ups format.
Updates will be more frequent, and it's kind-of blog-like, but definitely isn't a blog. Blogs are for wieners.
The first entries are in the menu to the left
All the best!
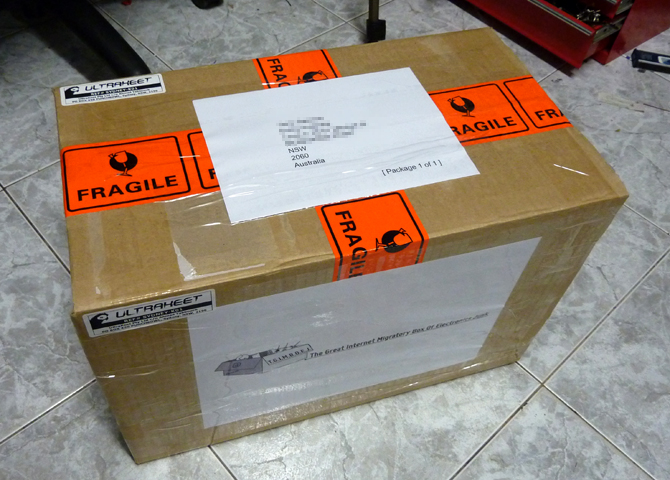
We're sending out our first Great Internet Migratory Box of Electronics Junk to Terry from the Robots and Dinosaurs Hackerspace tomorrow!
Check out Terry's Google Plus page and also his Impulse Noise Blog
The box (ID# Sydney-K01) can be tracked on the T.G.I.M.B.O.E.J Box Tracking page, and you can read more about our particular box HERE
G'day Ladies and Gents
I'll be taking the website down for maintenance tomorrow evening and replacing it with a boring, white-on-black maintenance page
The write-ups still contain links to our former webstore, and it's causing copious amounts of buggery and confusion - also, I want to play with mod-rewrite and databases.
See you in maintenance hell!
Well, it's finally happened - The UltraKeet Webstore has ceased to exist. Thank you kindly for your supporting us, the Parrot Rescue Centre and Big Ears Animal Rescue in the past!
-Your friends at UltraKeet in Sydney
 Modulated Arc Lighter